

Thanks for all the interest in a tutorial for my bag. As I mentioned, I made another one for our family reunion and took photos of the process. This is my first tutorial, so bear with me.
Materials needed:
One tea towel
Three 2-yard cuts of ribbon or strips of fabric (see below)
Thread
Let's get started!
1. Pick out your tea towel. Obviously, ironing does not matter in this case :) And all your edges are finished for you already. Woo hoo!

2. Take the short ends of the towel and turn the edges over to the wrong side about 1.5 inches and press.

3. Sew a 1/8" seam along the finished edge of the towel. This will form the casing for your handles.

4. Fold the towel in half widthwise, with wrong sides facing, so the edges you just sewed are touching.
5. Starting at the bottom of the tote, stitch the edges closed, placing your seam just to the inside of the existing edge seam, stopping when you reach the seam at the bottom of the casing for the handle.

This is what the edge of the tote will look like when you have finished step 5. I like this bit of detail.
 And here is the body of the tote before handles...
 And the inside of the top of the bag just for reference...
6. To make the handles for my bag I used the same method as for this necklace. However, for this tote I just braided some grosgain ribbon, knotted at the beginning and end of the braid. As I mentioned in the materials list, I used 2-yard lengths. The length is really up to you. I used this length because I knew some would be lost in the braiding and I am always afraid of not having enough. I ended up with a bit extra.
7. Once you braid the whole length you will need to cut it into two pieces for your handles. Find the center of your braid and stitch back and forth several times about 3/4 inch to each side of the center. Then cut through the center to form the two handles.
 8. Feed each handle through the casings at the top of the tote.
 9. Gather the tote along the handles until the length is to your liking.
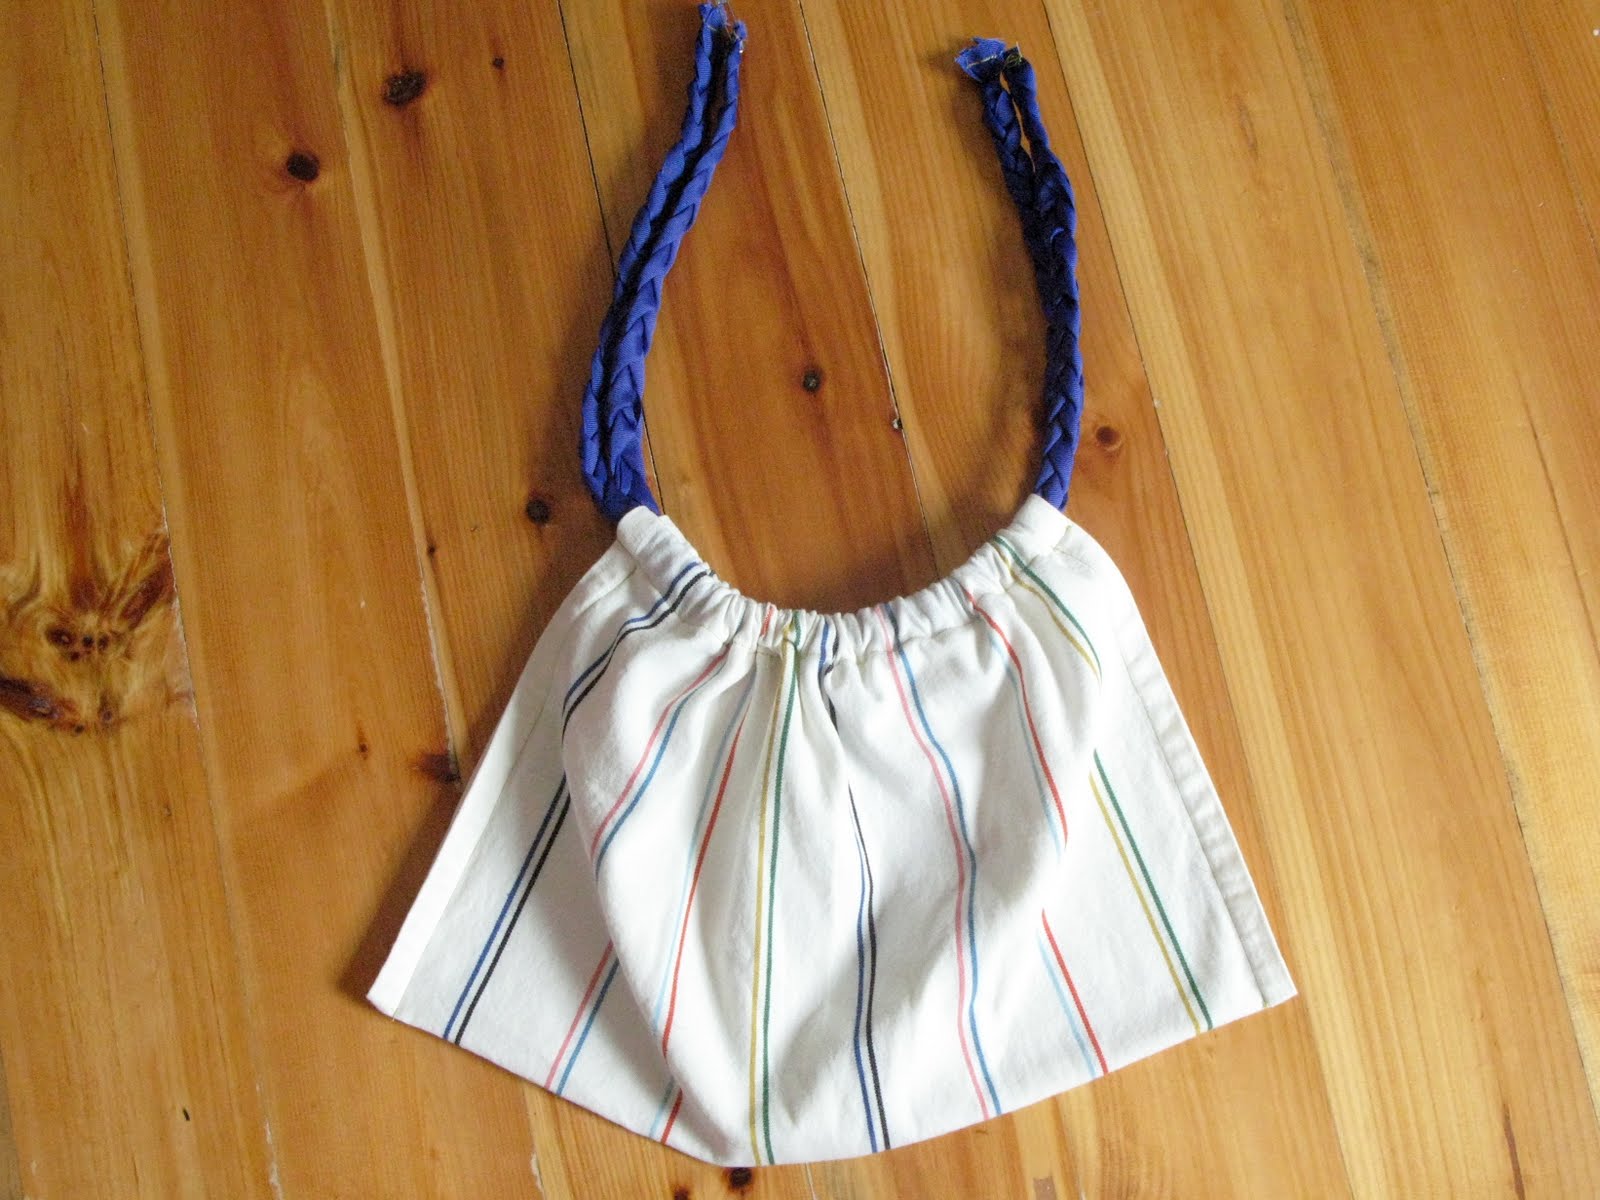

 12. Enjoy your new tote!
8. Feed each handle through the casings at the top of the tote.9. Gather the tote along the handles until the length is to your liking.10. Take the ends of each handle and stitch them together, going back and forth for a strong seam. Here is where you may find you have excess handle length. If that is the case, just overlap the handles before stitching them and then cut off the excess. Clearly, pretty stitching is not necessary.
11. Pull the handles back through the casing until the stitched ends are hidden and then gather the tote evenly across the top.
12. Enjoy your new tote!I hope this tutorial is easy to follow. Please let me know if you make one or if the instructions are unclear.


2 comments:
Great tutorial! I have a certain young one who keeps asking me to make a bag all herself...and this will be perfect!
what an awesome idea!!!! I love the simplicity!
Post a Comment